how to make a simple paper flower origami step by step
paper origami flower step by step
Learn how to make a simple paper flower with this easy step-by-step origami tutorial. Perfect for beginners — materials, clear folding steps, styling tips, and creative variations.
Paper flowers are a timeless, eco-friendly craft that brighten home decor, gifts, and party styling. This step-by-step guide shows how to make a simple paper flower origami suitable for beginners. All you need is square paper, a few basic tools, and about 15–25 minutes per flower. Follow along for clear folding steps, tips for neat petals, and creative uses for your finished blossoms.
Materials & Preparation
-
Square origami paper (recommended sizes: 15cm / 6in square or 20cm / 8in for larger flowers)
-
Glue or a small dab of white craft glue (optional)
-
Scissors (for optional petal shaping)
-
Thin floral wire or wooden stick (optional, to make stems)
-
Pencil (for curling or marking)
-
Ruler (optional)
Tip: Use lightweight but sturdy paper (60–90 gsm) or patterned origami paper. Heavier paper will be harder to fold neatly; very thin paper may tear.
Overview of the Folding Method
This tutorial uses a simple petal-fold base and assembly technique to create a single-layer petal flower. The method is quick and produces a natural, slightly 3D petal look. You will make 4–6 petal units and glue or slot them together to form the bloom.
Step-by-Step Instructions
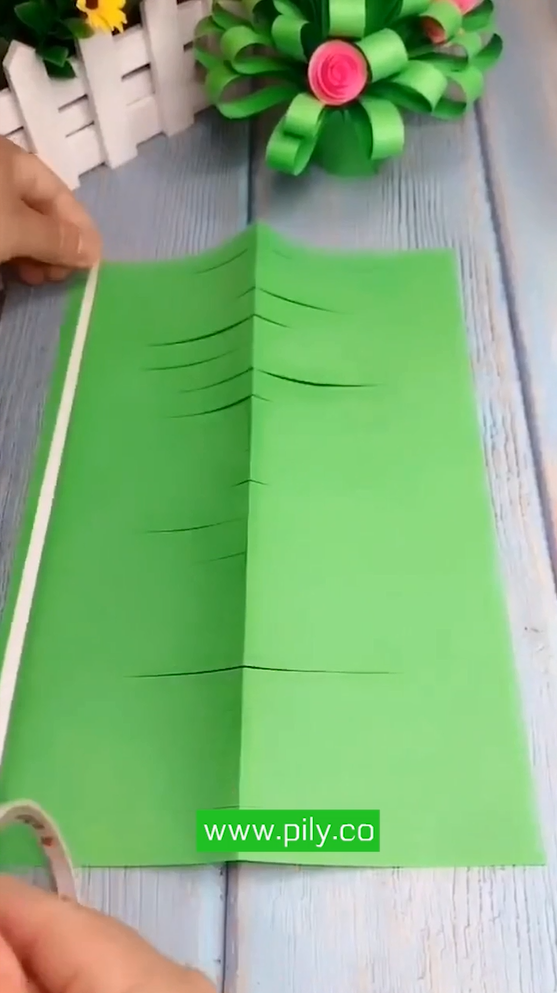
Step 1 — Start with a square sheet
Place the square paper color-side down (if double-sided). Fold it diagonally in half to make a triangle, then open. Fold the other diagonal to make creases that cross at the center. These creases act as guides.
Step 2 — Fold to a kite shape
Fold one corner to the center point, then fold the opposite corner to the center. You’ll get a kite or diamond shape. Crease sharply.
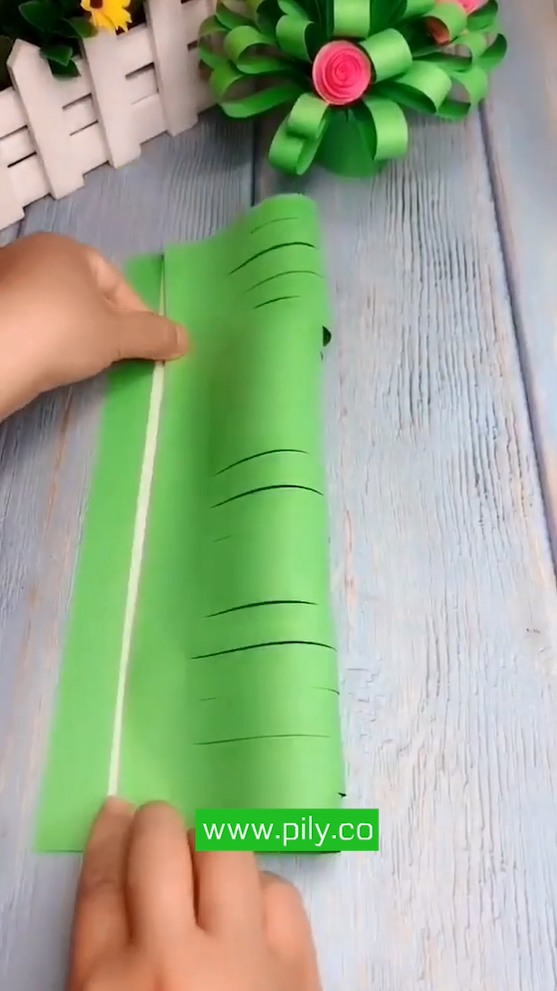
Step 3 — Create the petal base
Fold the kite in half lengthwise (bring the two long edges together), forming a narrow triangle. This narrow triangle is the base unit for one petal. Repeat steps 1–3 to make 4–6 identical petal units (for a fuller flower, make more petals).
Step 4 — Shape the petal
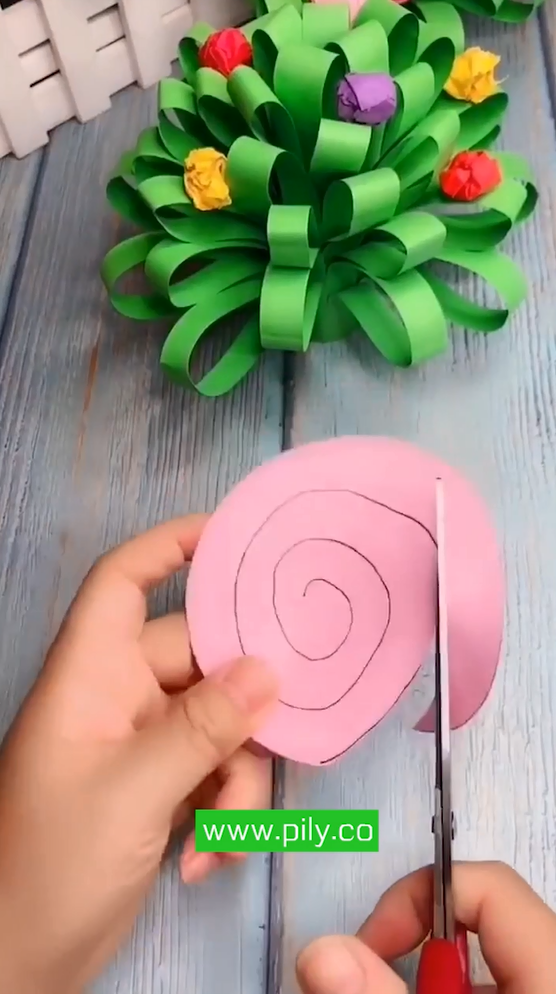
Open the narrow triangle slightly and fold the top tip downward about 1/4 of the petal height to round the petal tip. For a softer, curved petal edge, use scissors to trim a gentle arc at the top (optional). Refold and crease.
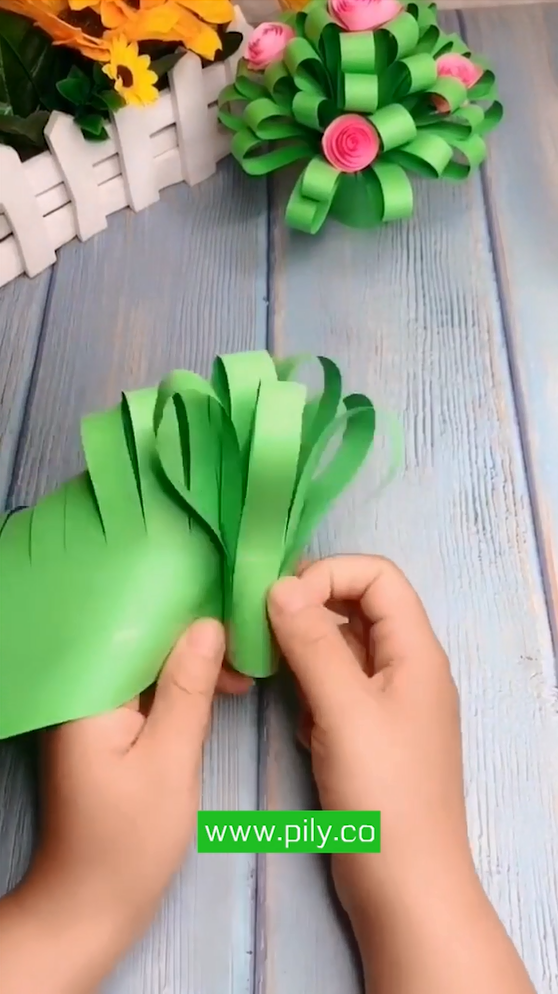
Step 5 — Assemble the petals
Apply a small amount of glue along one inside edge of a petal unit and press another unit against it, slightly overlapping. Continue gluing petals in a circle until all units are joined. Hold briefly until glue sets.
Step 6 — Finish the center
For a simple center, roll a small strip of paper into a tight tube and glue it to the middle. Alternatively, twist a short length of yellow paper for a stamen effect or attach a small bead for a decorative center.
Step 7 — Add a stem (optional)
Attach floral wire or a thin wooden stick to the back with glue or tape. Wrap the base with a small rectangle of green paper to conceal glue and create a neat calyx.
Tips & Variations
-
Color & Pattern Mix: Use different patterned papers for a mixed bouquet look.
-
Layered Flowers: Create inner smaller petals (use smaller squares) and layer them for a fuller flower.
-
Petal Texture: Gently curl petal edges around a pencil to add realism.
-
Durability: Use glue sparingly but firmly; hot glue works fast but be careful with thin paper.
-
Mini vs Large: Scale the square size to create tiny corsage flowers or large statement blooms.
How to Use Your Paper Flowers
-
Table centerpieces, bouquets, gift toppers.
-
Wall garlands or paper flower backdrops (attach multiple blooms onto a board).
-
Craft project for kids’ parties (supervise scissors use).
Troubleshooting
-
Paper creases look messy? Use a bone folder or the back of a butter knife to press crisp creases.
-
Petals won’t stay together? Add more overlap when gluing or use a tiny dab of glue at both top and bottom edges.
-
Center falls out? Insert a small drop of glue into the center hole and press the stamen/bead in place until set.
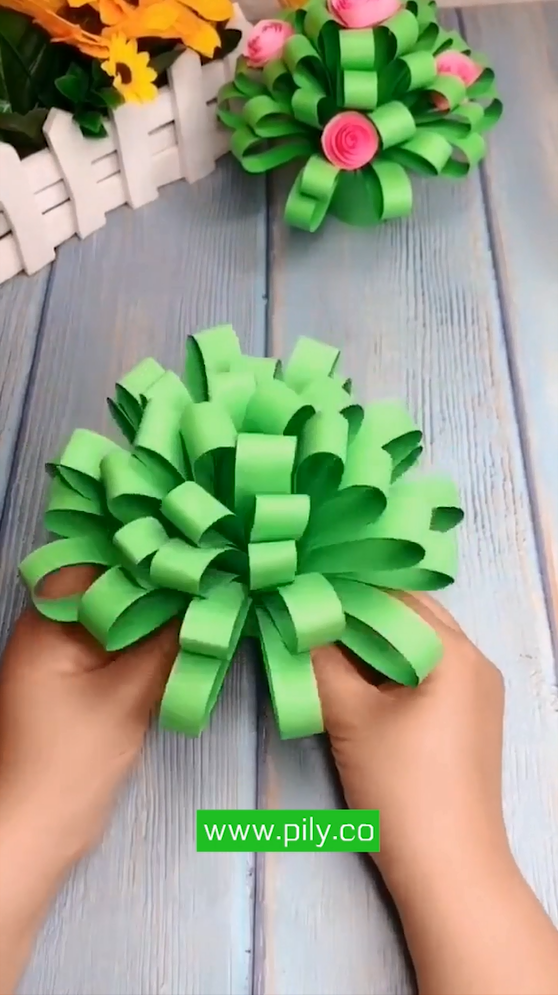
Conclusion
Making a simple paper flower origami is a relaxing and rewarding craft. With practice you can vary shapes, sizes, and colors to build bouquets or decor pieces for any occasion. Try different papers and assembly methods — soon you’ll develop your own signature paper-flower style.
If you enjoyed this tutorial, check our other origami posts and share your finished flowers with us on Instagram or email a photo to jessica@inspiringflow.com — we love featuring reader creations!