how to make origami flower bouquet step by step
origami bouquet step by step
Learn how to make an origami bouquet step by step with this easy guide. Create stunning paper flower bouquets for weddings, gifts, and home décor. Perfect DIY craft for beginners!
Flowers have always been a symbol of love, joy, and celebration. While fresh flowers are beautiful, they don’t last forever. That’s why many craft lovers turn to origami flower bouquets — handmade paper creations that are colorful, long-lasting, and full of personal charm.
In this tutorial, we’ll guide you through how to make an origami bouquet step by step, covering the basic folds, flower types, and creative decoration ideas. Whether you’re making a DIY gift, wedding bouquet, or home decoration, this guide will help you create something stunning with just a few sheets of paper.
Why Choose an Origami Flower Bouquet?
-
Long-Lasting Beauty – Unlike real flowers, origami blooms never wilt.
-
Eco-Friendly – Made from recyclable paper, no chemicals needed.
-
Budget-Friendly – A creative and inexpensive alternative to store-bought bouquets.
-
Personalized Gifts – Handmade with love and customizable in colors and styles.
-
Perfect for Events – Ideal for weddings, parties, or even as classroom projects.
Materials You’ll Need
Before starting your origami bouquet project, gather these materials:
-
Colored origami paper (6×6 inch is standard, but you can adjust size)
-
Green paper for leaves and stems
-
Glue (optional, for securing flowers together)
-
Floral tape or ribbon (to tie the bouquet)
-
Scissors (optional, for trimming stems or decorations)
Step-by-Step Guide: Origami Bouquet
Step 1: Choose Your Flowers
Decide which flowers you’d like in your bouquet. Popular origami flowers include lilies, roses, tulips, and cherry blossoms. Beginners often start with tulips or lilies.
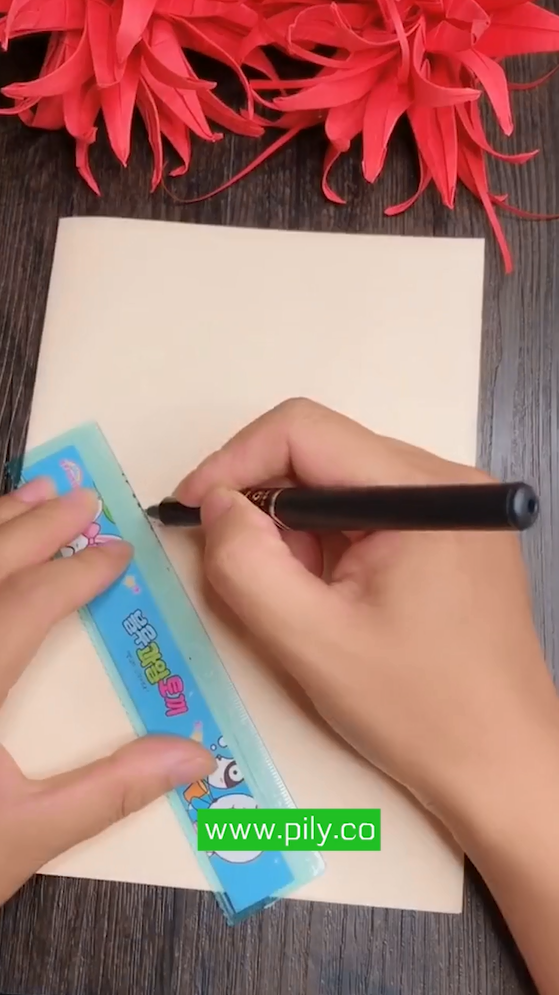
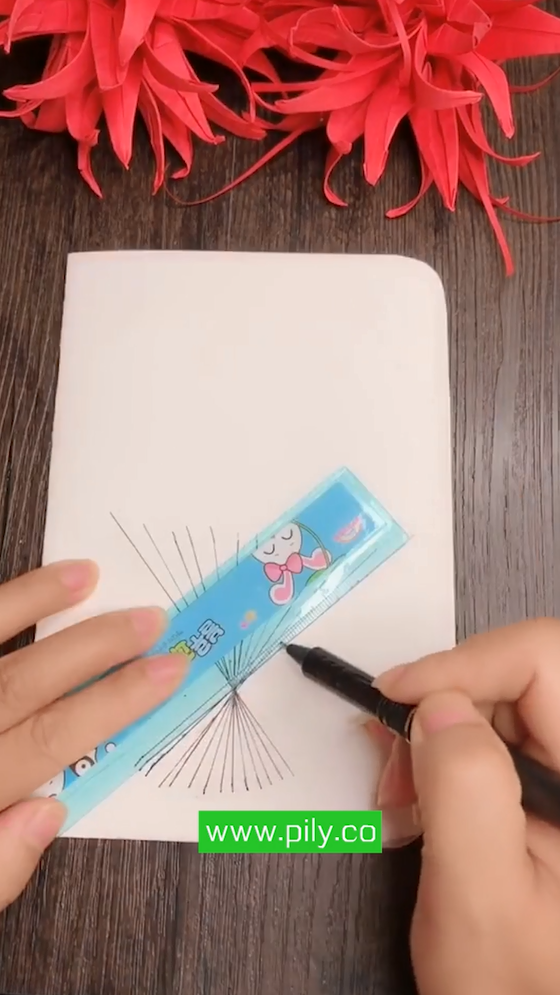
Step 2: Fold Individual Flowers
Take one sheet of origami paper and follow the folding sequence for your chosen flower. Each flower will usually take 5–10 minutes once you get the hang of it.
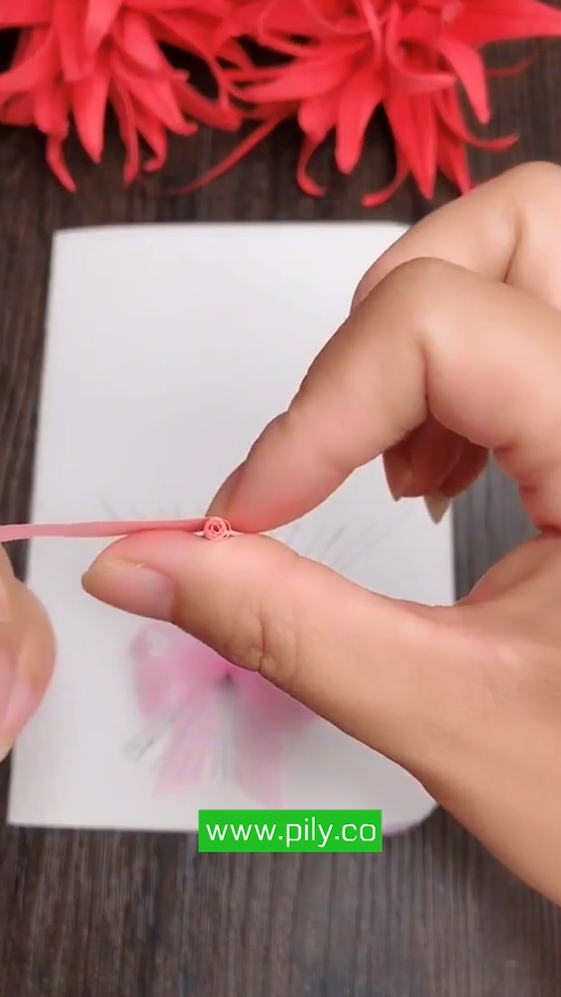
Step 3: Make the Stems
Roll green paper tightly into thin tubes to form stems. Secure the end with glue so they stay firm.
Step 4: Attach Flowers to Stems
Slide the base of each flower onto the paper stem and secure with a little glue if needed.
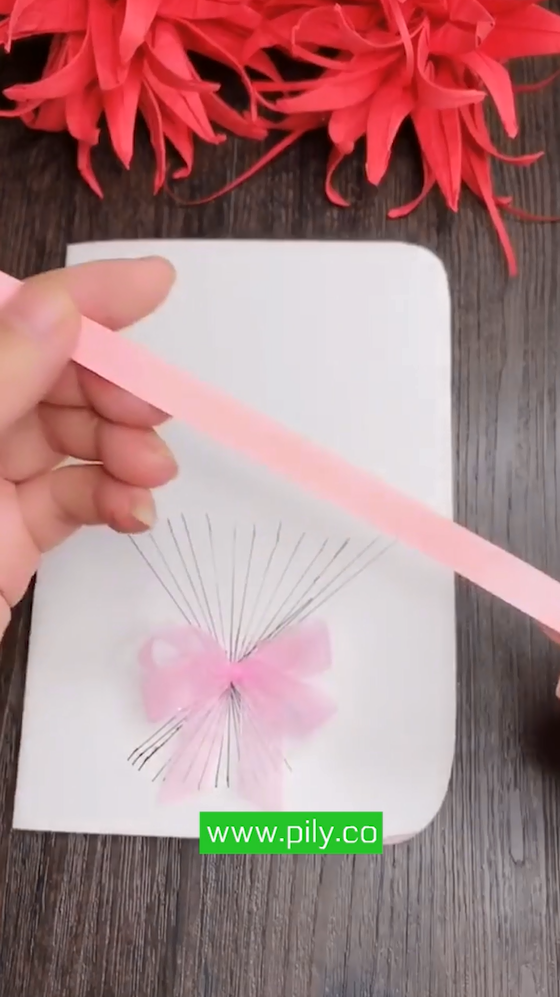
Step 5: Add Leaves
Cut or fold green paper into leaf shapes, then attach them to the stems for a natural look.
Step 6: Assemble the Bouquet
Gather all the stems together, arrange them neatly, and tie them with floral tape or ribbon. Adjust the shape until the bouquet looks balanced.
Creative Decoration Ideas
-
Wedding Bouquets – Use elegant colors like white, ivory, and pastel shades.
-
Birthday Gifts – Choose bright, cheerful colors like yellow, pink, and orange.
-
Festive Themes – Make red and gold flowers for Lunar New Year or green and red for Christmas.
-
Personalized Bouquets – Add small paper butterflies, stars, or origami hearts.
Tips for Beginners
-
Start with simpler flowers like tulips before trying roses.
-
Use slightly thicker origami paper for a sturdy bouquet.
-
Practice a few flowers individually before making a full set.
-
Mix different flower types for a realistic and artistic look.
-
Don’t rush — origami is as much about the process as the result.
Fun Uses for Origami Bouquets
-
Gifts for Loved Ones – Handmade bouquets show care and effort.
-
Wedding Decorations – Lasting keepsakes for bridesmaids or guests.
-
Home Décor – Add a pop of color to your desk or living room.
-
School Projects – A great craft activity for kids and teens.
Conclusion
Creating an origami bouquet step by step is a rewarding and creative project that blends patience, artistry, and imagination. With just paper and a few simple folds, you can design beautiful, lasting flowers that brighten any occasion.
Whether it’s for a wedding, a birthday, or simply as a way to decorate your home, an origami bouquet adds a personal and artistic touch that store-bought flowers can’t match. So grab some colorful paper, follow the steps, and craft a bouquet full of everlasting beauty. 🌸💐

、 、