How do you make a simple origami chicken?
origami chicken easy step by step
Learn how to make an origami chicken easy step by step with this beginner-friendly tutorial. Perfect for kids, school projects, and creative paper crafts.
Origami, the traditional Japanese art of paper folding, is loved worldwide for its simplicity and creativity. Among the many origami animals, the origami chicken is a fun and easy project perfect for beginners and kids. If you’ve ever wondered, “How do you make a simple origami chicken?” this step-by-step guide will walk you through the process. With just one square piece of paper, you can fold a cute paper chicken that can be used as decoration, in crafts, or even as part of a farm-themed origami set.
Why Choose an Origami Chicken?
-
Beginner-friendly – No complicated folds, perfect for kids or first-time origami folders.
-
Creative decoration – Great for Easter, farm-themed parties, or classroom displays.
-
Educational craft – Helps improve hand-eye coordination, patience, and focus.
-
Eco-friendly – Made with just a single sheet of paper, no scissors or glue required.
Materials You’ll Need
-
1 square sheet of origami paper (any size, preferably 15×15 cm)
-
Optional: marker pens for drawing eyes and details
-
A flat surface to fold on
Tip: Yellow or orange paper works best for a chicken, but you can experiment with colors to make your origami farm more fun.
Step-by-Step Instructions: Origami Chicken Easy Step by Step
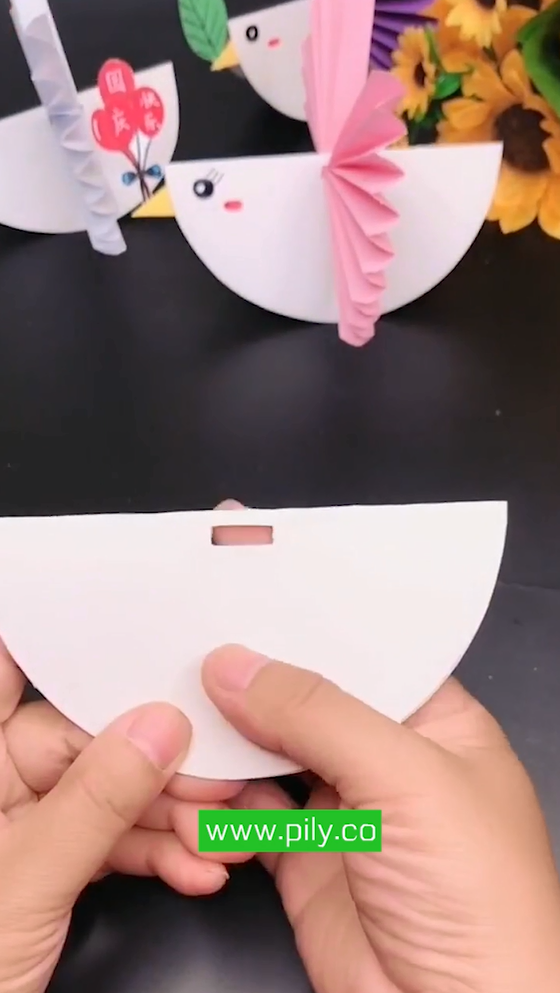
Step 1: Start with a Square Paper
Place your paper color-side down. If your paper has only one color, make sure the white side faces you.
Step 2: Fold the Paper in Half Diagonally
Take one corner and fold it across to the opposite corner to form a triangle. Crease well and unfold. Repeat with the other diagonal. You should now see an “X” crease on the paper.
Step 3: Fold into a Smaller Triangle
Bring the top corner down to the bottom corner to form a triangle again. Keep this fold.
Step 4: Create the Beak
Take the top layer of the right corner of your triangle and fold it slightly outward. This will be the chicken’s beak. Adjust the size depending on how big you want the beak to look.
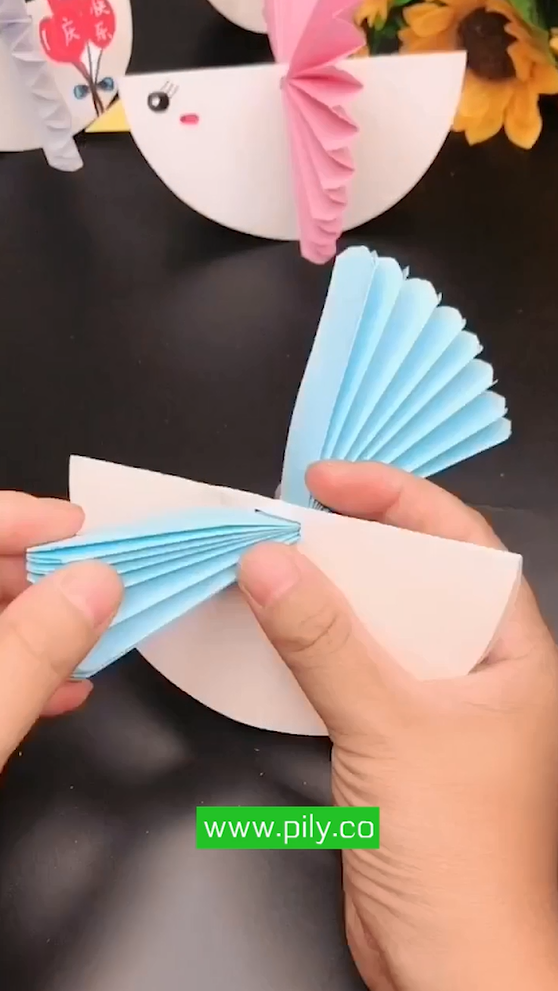
Step 5: Shape the Body
Now fold the left corner of the triangle slightly inward. This will form the round body of the chicken.
Step 6: Make the Tail
Take the bottom corner of the triangle and fold it slightly upward. This creates a little tail at the back.
Step 7: Stand the Chicken
Open the bottom slightly so the origami chicken can stand upright.
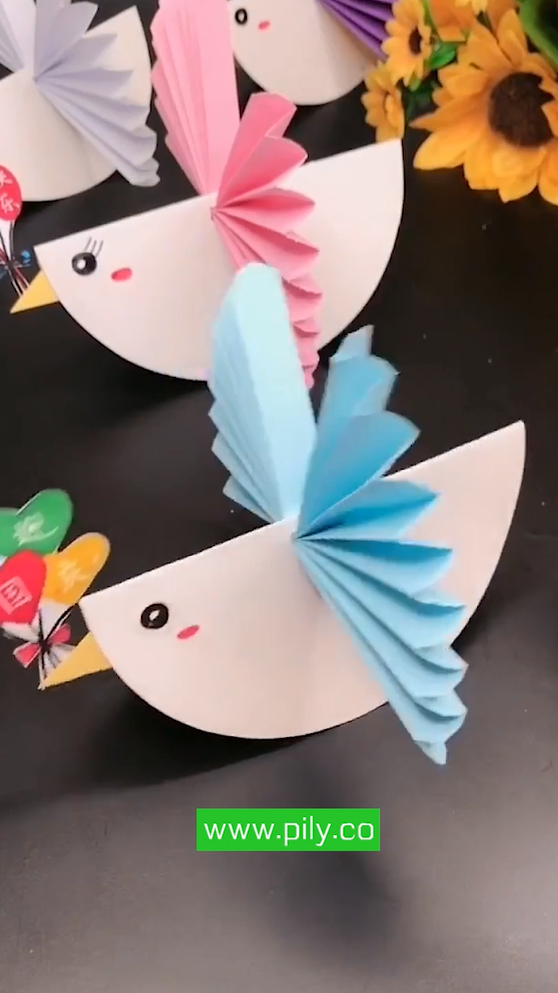
Step 8: Add Details
Use a marker to draw an eye, or cut out tiny paper shapes to stick on for a more decorative chicken.
And just like that, your origami chicken is complete!
Tips for Success
-
Always crease your folds sharply for cleaner results.
-
Use medium-thickness origami paper. Thin paper can tear, while thick craft paper is harder to fold.
-
If folding with kids, choose larger sheets of paper (20×20 cm or bigger).
Creative Ideas with Origami Chickens
-
Classroom Projects – Teach kids about farm animals while folding.
-
Festive Decor – Make colorful chickens for Easter decorations.
-
Gift Toppers – Attach origami chickens to greeting cards or gift wraps.
-
Origami Farm Set – Fold a chicken along with origami cows, pigs, and ducks.
Conclusion
Making an origami chicken is simple, fun, and rewarding. With this origami chicken easy step by step guide, anyone can fold a charming paper chicken in just a few minutes. Whether you’re a teacher looking for a craft activity, a parent keeping kids entertained, or a hobbyist exploring origami animals, this little chicken is a perfect project.
So grab a piece of paper and try it today — your very own origami farm awaits!